Game Progression
We will briefly detail the main focal points for account progression from early game to end game.
Early Game (1-40)
First let's familiarize ourselves with the main currencies used at the start of the game
- Gold: Used for virtually everything
- Radiant Powder: Upgrades the level of equipment
- Radiant Ore: Upgrades the maximum level tier by 10 up to 60
- Common EXP: Levels Units
- Rank Medals: Unlocks unit skill tree ranks
FAQ: How do I know when to use resources? I am concerned I am wasting them early.
A: The demand of resources overall up to around level 50 ranges anywhere from trivial to very manageable, as Event Shops frequently provide resources catered to End Game needs, and in end game, leveling an equipment from 50 to 60 costs more than leveling from 1 to 50. As long as you are not trying to level every single unit you get, you are usually fine. Let's go through which resources tend to be common, and what to keep in mind to use more sparingly.
Common EXP: In SoC, while stages do technically award EXP, it’s merely for show, as the main form of leveling a Unit’s level is through Common Exp. You will receive plenty of it through natural progression and through quest rewards. Common EXP, like the name implies, is quite common and is not a gated resource. Aside from the earliest parts where you may not have have any access to event shops, particularly prior to 20-30, you should simply focus on a main core of around 5-6 units to level.
Gold: Gold usage early is exceedingly low, as you do not have access to any gold sinks.
Rank Medals: You get enough of these from Voyager quests
Radiant Powder: At the very start, you will have a limited supply, so I recommend using it on your DPS units only. Supports don't require the stats as much. It is also fine to use it on common weapons as the cost is negligible and the benefit is large.
Radiant Ore: While still relatively common, it is the scarcest among the five listed resources. Trinkets do not gain as much base stats as Weapons, so you should keep them at a lower level to maintain resources.
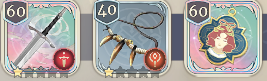 Ex:
Ex:
 Character Skills: When you choose a skill, unlocking the other skill requires The use of a very limited resource called castalia that look like . These are obtained primarily from completing certain Voyager quests, Fool's Journey, and Events. For frame of reference, castalia should only be used to unlock 1-2 core skills that the Devs intentionally placed in the same rank tier to encourage its use, and preferably only on good Legendary units. To illustrate an example, for the unit Gloria below…
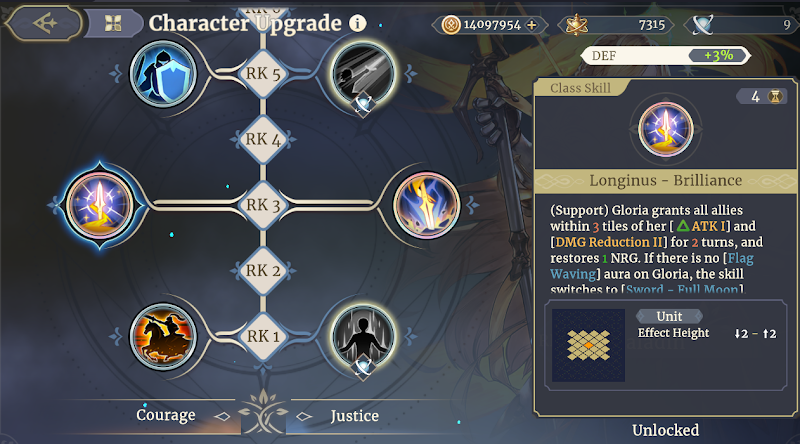
We want to take both skills because aside from the fact she is primarily a support and “Brilliance” is a core skill, in order to get Potential Burst from her trait, changed/amplified skill effects, and a stronger Flag aura, we need to throw the Flag down, and the only ability in her kit that allows her to do that is Lance of Longinus, which is the other skill. For this reason there is a valid reason to use a castalia.
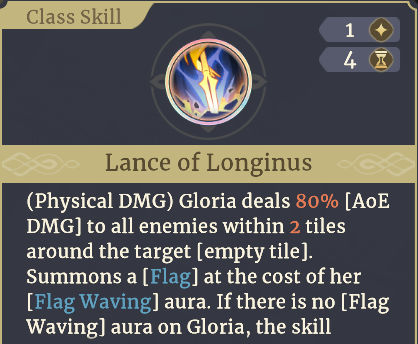
 In most cases, you can get away with one castalia, however some units do demand more. In end game min maxing, castalia are sometimes even used simply for the stat bonus you receive for unlocking a skill
This however is obviously a luxury and is NOT advised for newer players
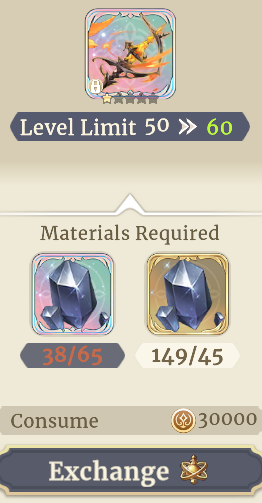
When upgrading characters, there is another convenient resource that can be used to substitute a lack of Medals/Ores known as Primordial Powder
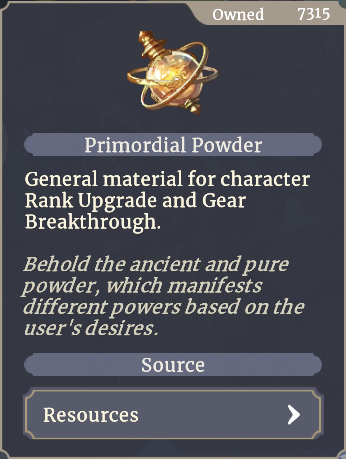
Primordial Powder is obtained occasionally from the Cornucopia Battle Pass for Free at no purchase. The great thing about Primordial Powder is that the early rarity/rank materials used for upgrading units/gear is exceedingly efficient and can cover most upgrades. However it becomes extremely expensive for the higher rarity ones, so it is advised that if you want to extend the use of Primordial powder for the long term, to use it primarily for the lower rarity materials until end game.
Note however, it only prompts you to use Primordial Powder over materials if you are lacking the materials in the first place. To use and convert Powder into Mats, simply attempt to force upgrade an item even when it shows you lack the required amount, and it will ask you to Exchange. For other menus, it may already ask you to exchange without attempting a forced upgrade, such as indicated below.
Voyage Momento
FAQ: Do I have anything I need to follow early on?
A: The most important thing to follow early game for progression is the Voyage Momento, which is located at the left side of the screen
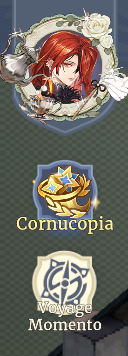
The Voyage Momento provides relevant resources, endurance potions, and voyager EXP as you complete the missions. The missions are divided into Resource, Develop, and Impact, however you SHOULD ignore the Resource missions and head straight into “Impact” first, as these are important farm stages. However the bigger reason to ignore resources is that if you complete all Impact and Develop missions, then every other mission in Resource gets automatically completed. This saves time and ensures you maintain a proper rail line towards progression.
 Familiarizing yourself with Game Modes
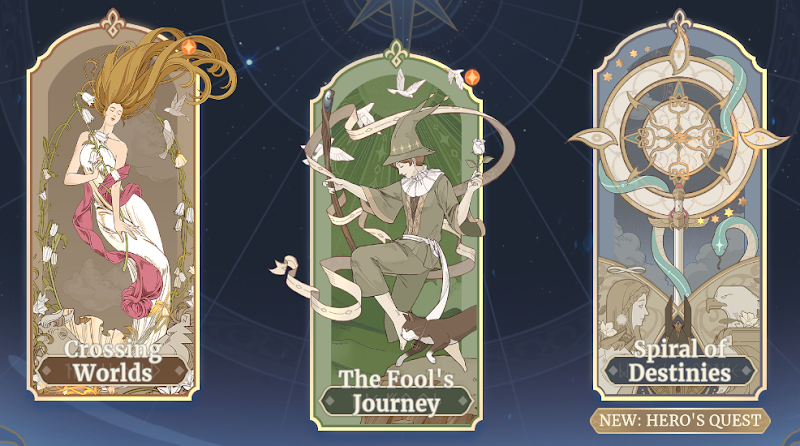
Main campaign progression is in “The Fool’s Journey”. ‘Crossing Worlds” is for farming/daily/challenge stages, and “Spiral of Destinies” is the independent greater storyline that requires no stamina to enter.
Spiral of Destinies
FAQ: What is Spiral of Destinies and do I need to do it? If so, when, and what rewards do I get?
It is a separate Roguelike Mode/Campaign that represents various possibilities of choices and outcomes that explores the setting of SoC and its characters. There are multiple routes and endings and you get significant rewards from the “Dawn” time limited event and from “Destiny Traces” (Which appears only after completing the first few stages of a basic SoD run).
SoD should be run when you run out of Stamina for the day. Or really anytime you want
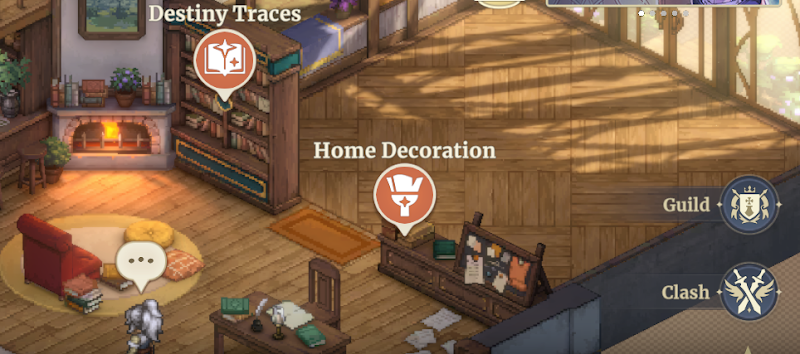
In Destiny traces, you receive rewards from achievements, increasing Knowledge Level (from Knowledge EXP received at the end of each SoD chapter), and Remembrances (Cinematics). The kind and amount of rewards vary based on the route and SoD type. For newer player reference, you should do the default Sword of Convallaria SoD, and leave the “Night Crimson” SoD for a little bit later. They are considered independent SoD’s that can have progress on both at once, and do not conflict in story. Night Crimson is also a Prequel and details events that have already transpired, so there are no routes, so if you want to delve into a story experience with no worry of bad ends, running this through once is a good source of rewards and story experience. However it is recommended to do a normal run first due to the following event page described below
For new accounts, a time limited event page called “Dawn” has starter quests that provide 2500 Luxites. This should be prioritized on your first run
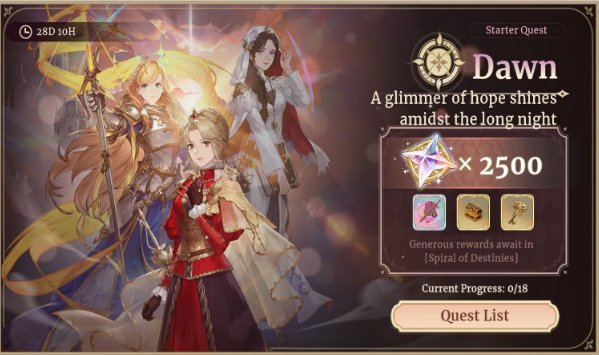
The Quests are generic enough that you should be able to complete all or near all of them from most basic routes. You can refer to the SoD dedicated page for more info on routes
Fool's Journey
These are your main farming and challenge progression stages that unlock every 5 levels, with some unlocking later on. Refer to the Farming Page for more info. However there are two main things to know. Firstly, you should focus on completing every new stage unlocked whenever they become available once so the next day’s dailies can be swept to the higher level Weaponry and Tarot Residual are not level gated, but instead unlock newer levels upon the completion of each previous level. The general recommendation is to make sure you complete each new Tarot residual and Weaponry Trial relative to your strength as you can. There are also means of completing these stages with Budget teams at 10-20+ levels below the recommended level, but you’ll have to find external resources or youtube videos for this. New players have little need to be concerned about rushing this, especially prior to level 40.
Tower of Conquest
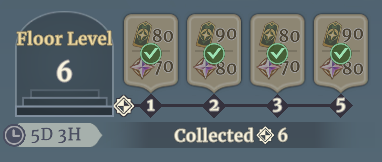
A challenge mode abbreviated as ToC is also present here, which is a series of 10 floors composed of 5 stages each. The end of every floor completed gives a fixed amount of one-time rewards, notably Luxites. However, the first time each week 1,2,3, or 5 stages on any floor is completed, you receive Luxites relative to the highest floor you’ve reached. Rewards reset weekly. Meaning, there is an incentive to reach as high of a floor as you can to increase your income per week.
But note, when the week resets, you are brought down one floor below of what your highest floor completion was at any time, meaning if you completed Floor 7, you are brought down to floor 6. If you make no progress at the end of the week, you reset at the beginning of floor 6 again and are not brought down to 5, meaning you can only ever drop one floor from your highest reached. If you cheese your way to a particularly high floor early, subsequent weeks may be far more challenging for you.
Tarots: Around level 20, you will unlock Tarots, which is another gear slot which provides its own inherent Gear skill and can roll RNG stat lines. Refer to the Tarot Page for a quick summary.
At this point in the game you should slap on unit applicable Tarots which can be found on individual character sheets or role based tarots as recommended on the Tarot Page.
Memory Shards
An important part of character progression is upgrading the traits and stats of units.
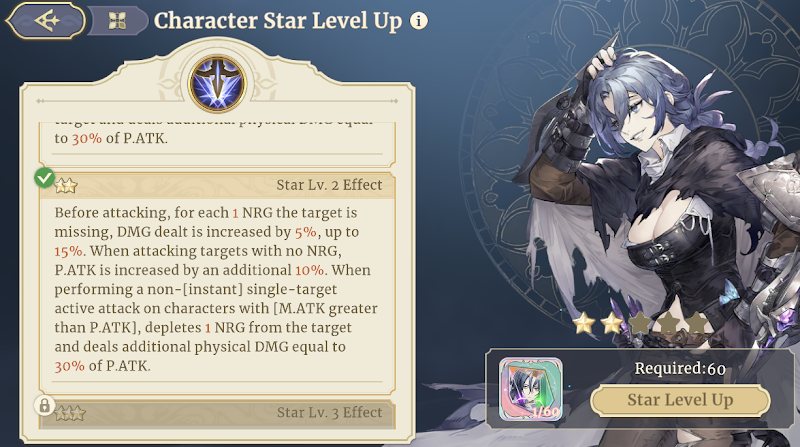
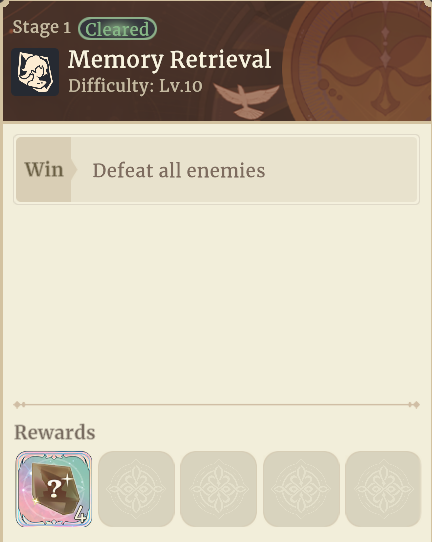
Units use a resource called memory shards, which are specific to characters. They are obtained from Dupes and “Memory Retrieval” in Crossing Worlds. F2P players do NOT want to pull dupes for enhancing character traits. It is recommended to add Legendary rarity units into “Memory Retrieval” and run it daily, with the number of units placed into the farm relative to the amount of Shards given. To clarify, look below.
Stage 1 provides four shards, which are distributed between the units placed in the stage. Less units means each unit gets more shards, up to a max of 3, while more units means the maximum shards rewarded listed on the stage is divided between those units, meaning if you place 5 units in Stage 1, four random units will get one shard, while one will get nothing. Instead you want to maximize each unit getting the max amount of shards possible without losing any. In the end game when you do Stage 6 Retrieval, you want to put 3 units in, so each unit gets 3 for a total of 9, which is the max that the final stage of Memory Retrieval can give.
TLDR:
Stage 1-3: Put in 2 units
Stage 4-6: Put in 3 units
Events
Once you are level 20, you unlock the event page and event stages. Aside from making sure to check this page regularly and completing what you can. Events always have stages suited for level 20-30 players. You want to, at the very minimum, complete the first stage so you can unlock the Extra Rewards and “Sweep” the stage, which is where you auto complete the stage instantly. This is an important means of accessing event store rewards. Consider doing event sweeps part of doing dailies
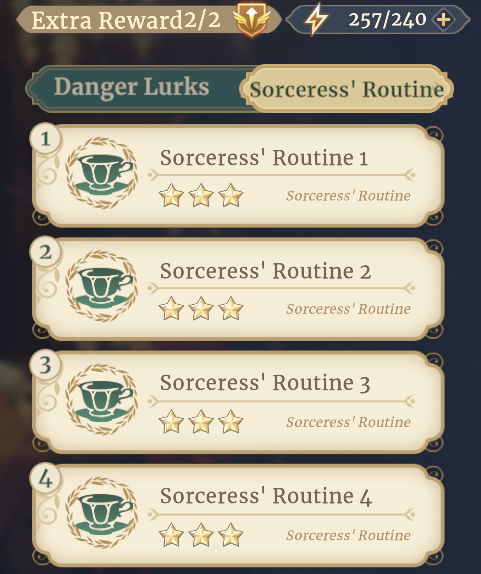
Priority of Event Store items for newer players: castalia -> Trinkets -> Pulls ->Radiant Powder -> Tarot Essence -> Elysium Coins -> Weapons -> Radiant Ore -> Legendary Tarots(higher priority if Series 2, but in most cases it is 1).
This priority shifts as you progress the game and is different for end game players after Trinkets on the priority order
Sweeping in Sword of Convallaria causes units to become fatigued and can not be used again in a sweep for a certain time period. This is bypassed by using the item Canned Octopus, which is commonly received as a reward from events or redeemed from the shop.
FAQ: Is there any reason to Sweep not using Canned Octopus?
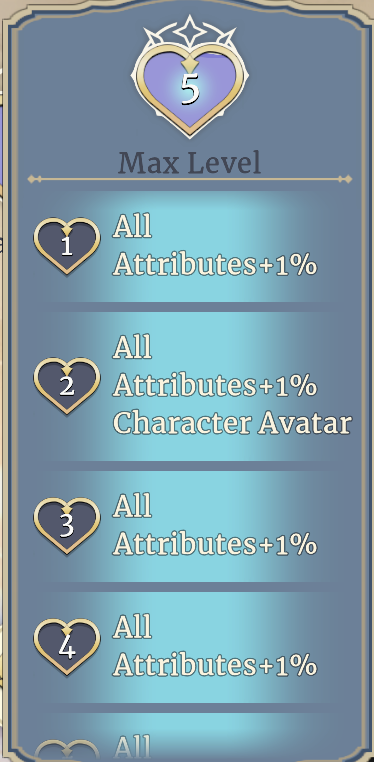
A: Yes! Choosing not to do so will increase units Bond Exp. Bond Exp raises a unit’s stats by 1% for each level up to 5%!
Bonds
As mentioned before, Bonds, also known as Friendship, is a secondary system. Reaching level 2 bond for any unit unlocks their icon as a portrait that can be used, and various levels of bonds can unlocks more story, voicelines, or dialogues depending on the conditions. Bonds can also be increased using Bond Charms, which can be gotten from the Shop or as rewards.
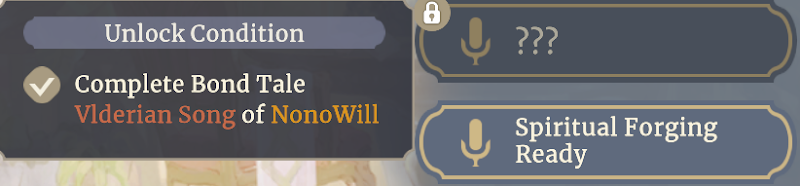
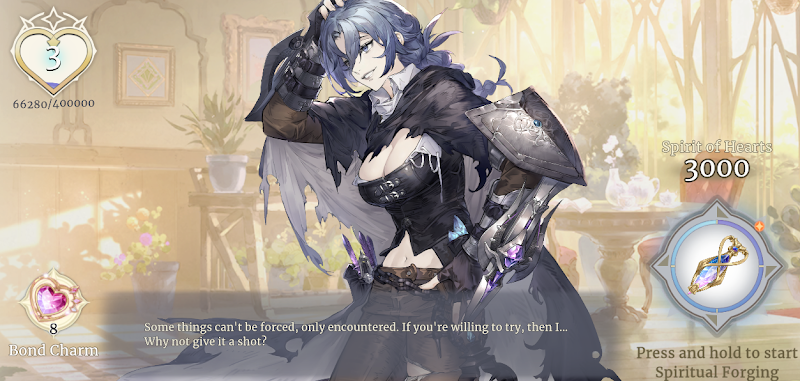
You will receive Spiritual Forging EXP daily and it can be used to increase Bond EXP, however note that it caps at 3000, so be sure to use it on your good units every so often!
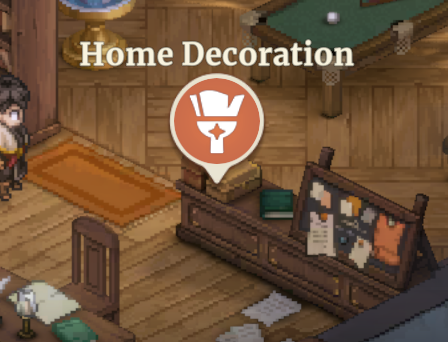
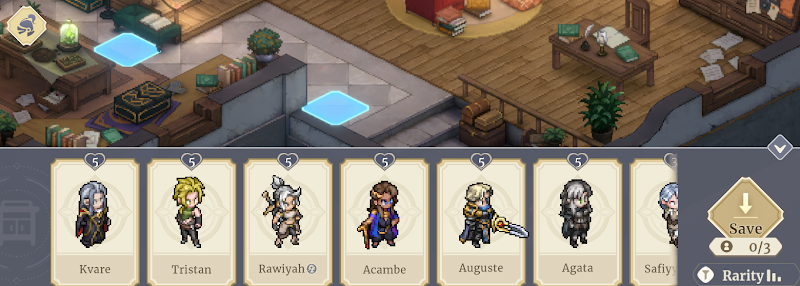
Alternatively another way to get Bond Exp Passively is to simply head over to Home Decoration, and click on the Helmet icon the left and set some units up in your home!
Mid Game (40-60)
When you are level 45 and complete 8-5 of Fool's Journey, you unlock Engraving items, which are consumable items that engraves symbols on Weapons and Trinkets to add 1-3 random stat lines onto them like Tarots
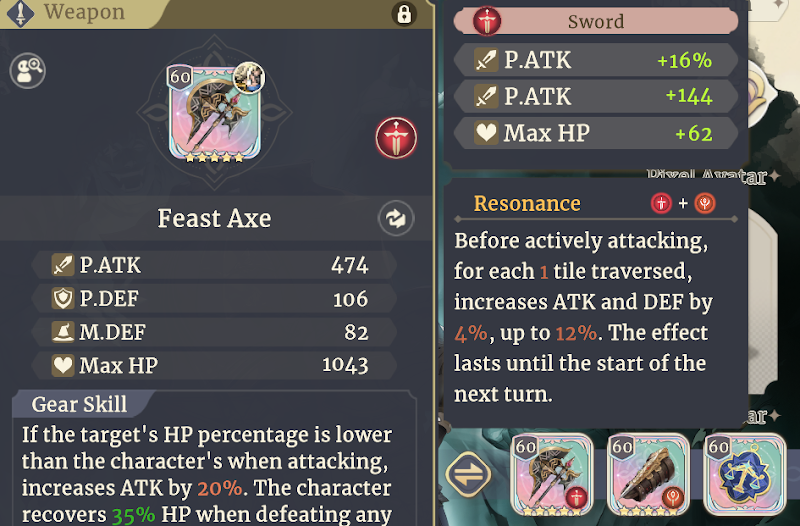
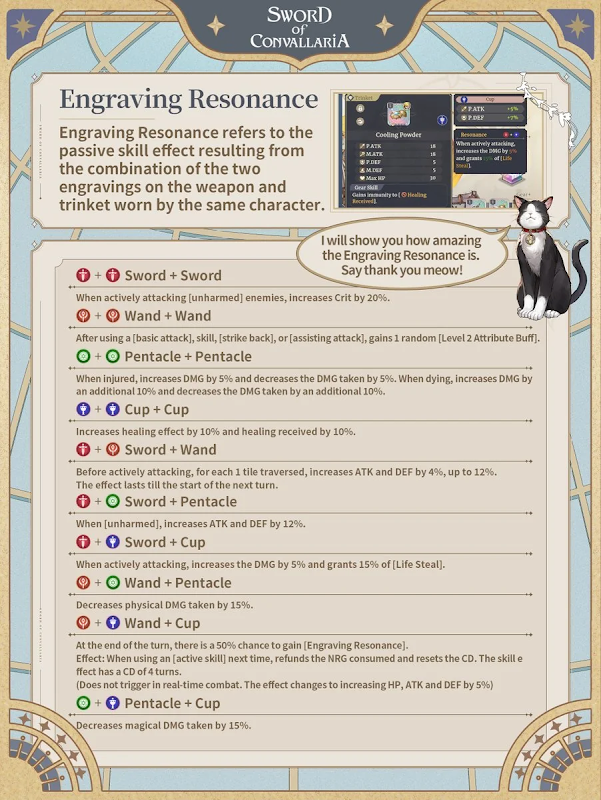
A combination of two engravings creates a Resonance, which is an additional effect added onto the weapon. Here are a list of all the combinations
The type of Engraving used affects the minimum and maximum stat roll possibilities
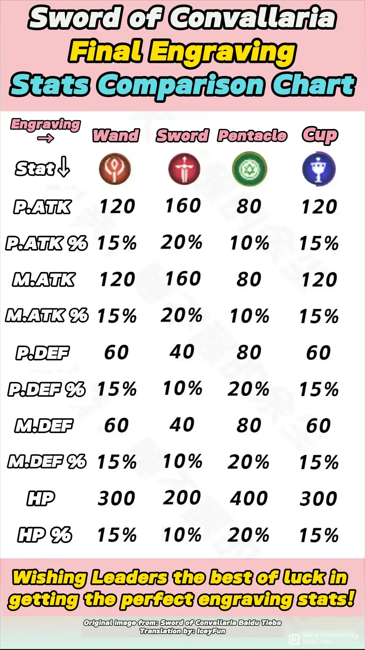
(Fixed “Sword” having 15% HP rather than the actual max of 10%.Thanks to sprsclr for the fixed img.)
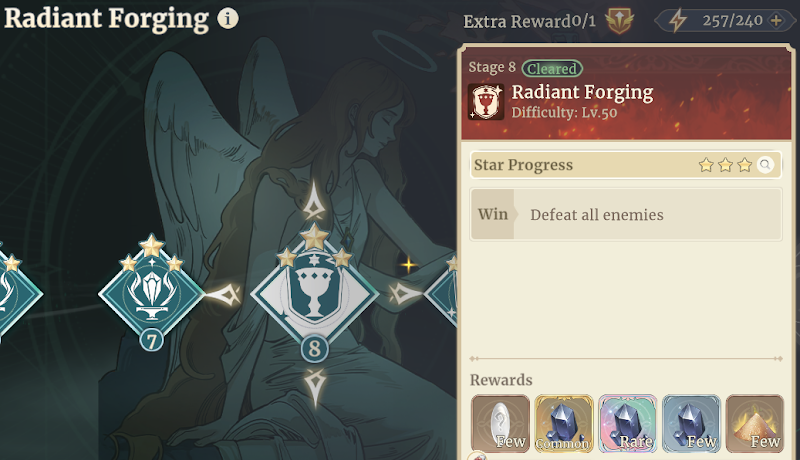
The TL:DR is that most DPS run Sword + Wand, and supporters tend to run Wand + Cup. Engravings start becoming farmable in Radiant Forging start from stage 8
It is not necessary to overuse Engravings early. The main priority is to simply have the proper resonance combinations applied to your units, giving them a significant boost regardless of the stats rolled on them. Each rarity of engraving increases the chance of higher tier lines appearing, however either the actual magnitude or rate of occurrence of higher tier mods is believed to be tied to the equipment's innate engraving level, which is increased from increased usage of engravings. Meaning there is some value to using lower tier engravings to increase an equipment level to increase the frequency of higher tier mods. However, the impact of this system is fairly minimal and most people do not bother with forcing themselves to increase an equipment’s engraving level beforehand.
End Game (60+)
🫠