💤 Innana SoD Guide

The Inanna of Convallaria SoD is a prequel to the actual SoD coming in the future and is formatted like an event
that costs keys/stamina to progress, and comes with its own farm stages and event shop.
The SoD is separated into main story stages called “Enter Sleep” and farm/challenge stages called “Meditation”.


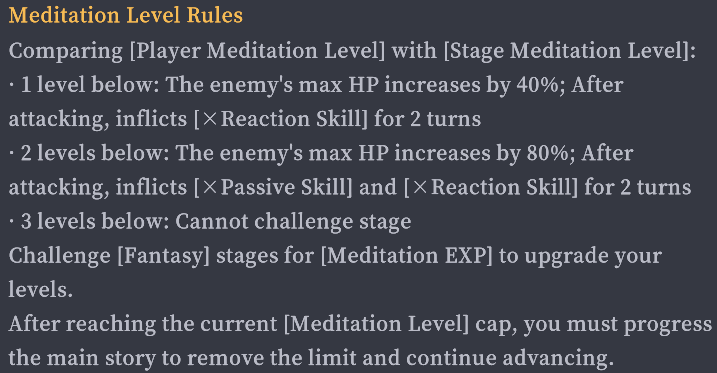
Progression through main story stages is semi-gated behind increasing your Meditation level. While you are not strictly prevented from entering, you are heavily penalized with stat reductions if you try to complete it with a lower Meditation level than recommended.
Before we get into the main story stages, let's discuss the Meditation mode, which is divided into three subsections and is the main source of increasing your Meditation level.
Meditation
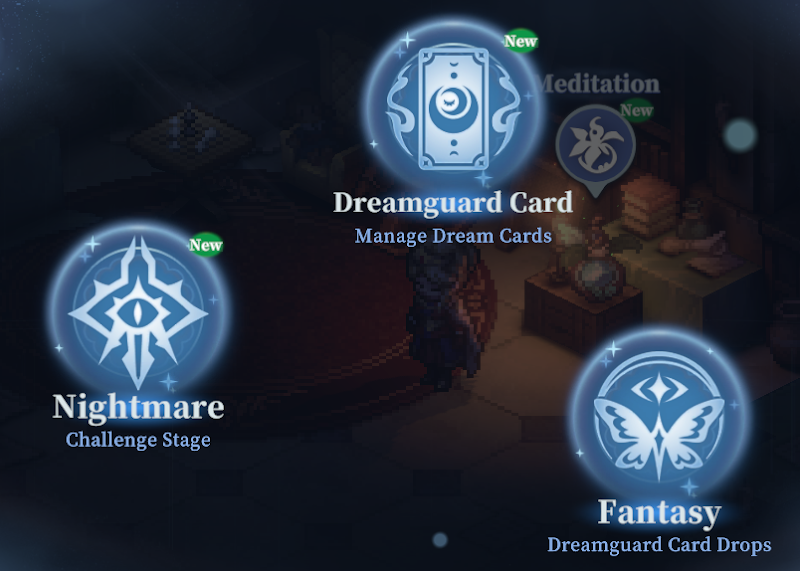
Dreamguard Cards : This SoD features a perk system in the form of enhancement cards. They are divided into Attack, Def, and Power and you can only equip cards corresponding to the type of slot indicated. You unlock more slots as you increase your “Meditation Level”.
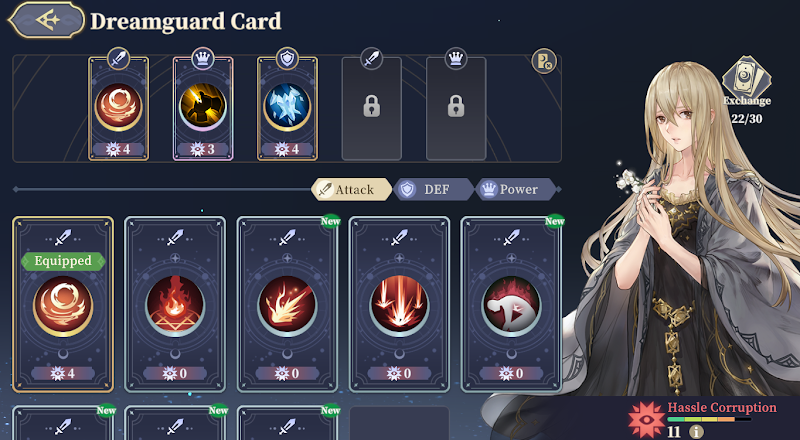
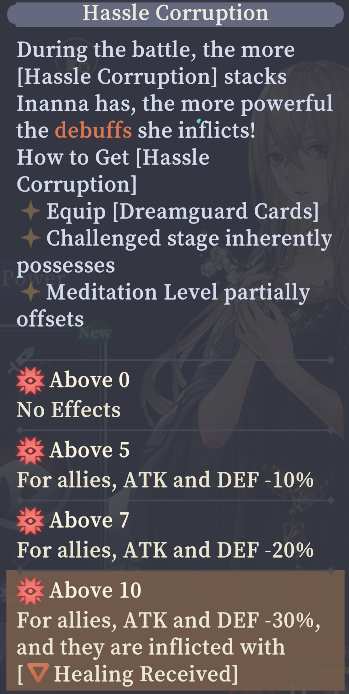
While these cards can offer substantial boosts to both the Inanna NPC you control in stages as well as all your allies deployed in battle, the system comes with a drawback. Each card has a “Hassle Corruption” cost associated with equipping them.
The more you increase the “Hassle Corruption” meter by equipping expensive cards, the more stat reductions your units suffer.
However, both the cost and stat reductions suffered from Hassle Corruption are mitigated by simply increasing your Meditation level, which as shown below, increases both stats, unlocks card slots, and reduces the amount of Hassle corruption on the meter, allowing you to equip more expensive cards before incurring a penalty.
FAQ: Do I need to go out of my way to farm Cards to progress in the event due to difficulty?
A: No! But Yes! From my experience on completing the Inanna SoD on two accounts, it's perfectly enough to slap on low cost cards you simply happen to get incidentally while being forced to run “Fantasy”, which is the stage to farm Meditation EXP and receive random Dreamguard card drops, and you can complete everything without any concern about min maxing. Simply think of it as an optional thing you can invest in to ease things up. However you do need to farm the stages for Meditation levels. You can complete all the main stages at around Meditation level 10, however Nightmare V goes up to requiring a Meditation level of 14 on Stage 17, so you will probably need to continue farming Fantasy stages if you want to finish up the final Challenge stages.
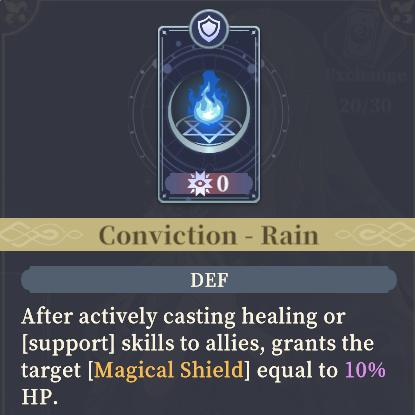
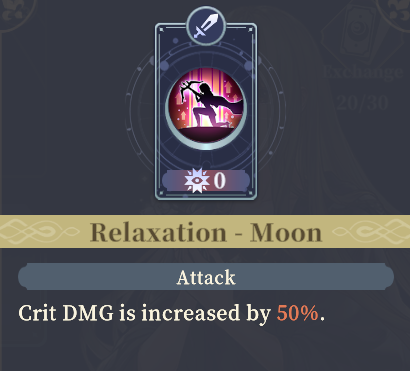
Some of the cards as shown right below are designed to work specifically in the card farm stage “Fantasy” in order to make it easier/faster to run. It is worth equipping some of these just to save time.
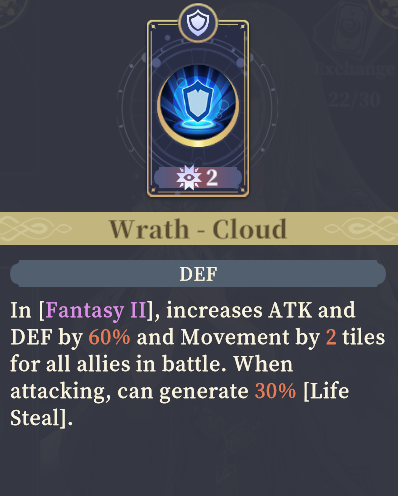
Some Low Cost Cards that are good:
Fantasy : This is where you spend 20 stamina per run to gain Meditation Exp and random rarity/type of Dreamguard cards. Unfortunately you will have to run them a few times to reach the recommended Meditation level for Main stage progression. The stage environments are random, but each stage has the same goal of simply defeating enemies, so it makes for generally easy auto gameplay. Unfortunately you can't sweep ☠️

Nightmare: The first time you complete a Fantasy farm stage, you unlock Nightmare challenge stages. These cost 30 Stamina but provide 40 Luxite and a substantial amount of “Treasures in Fantasy” event currency, reducing the feeling of wasting your time in Fantasy, as you are getting a pretty large sum of the currency per Nightmare stage completed. Nightmare stages are purely optional and is not necessary for progression, but you should still attempt to complete them
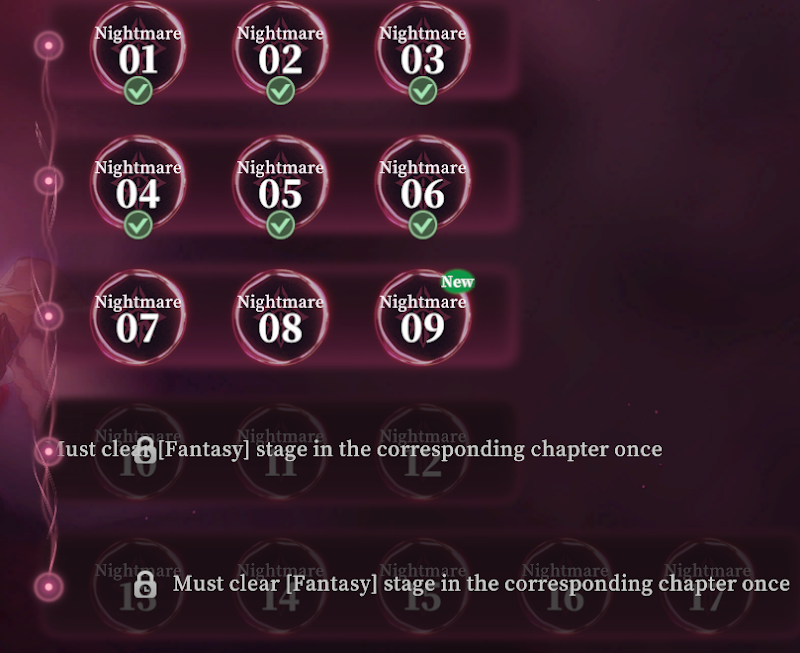
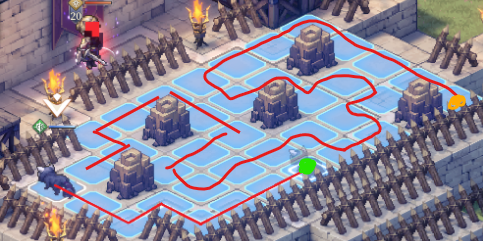
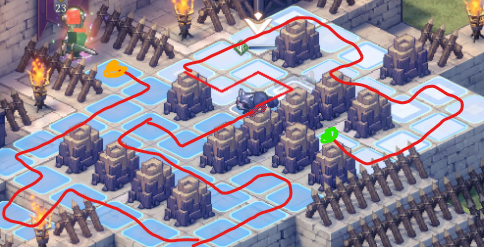
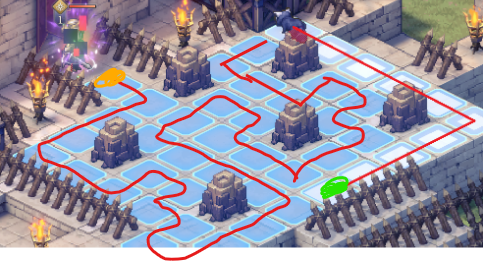
Some Nightmare stages require completing a movement puzzle while also defeating enemies. Failing the puzzle by missing even a single step can result in failure and the enemies transforming into much stronger variants. The answer for the movement part of the stages will be provided below. Stage 1 is not included because it is a easy tutorial stage
Nightmare Stage 2:Puzzle
Nightmare Stage 3:Puzzle
Nightmare Stage 14:Puzzle
Main Stages (Enter Sleep)
NPC STAGES ONLY. Any Stages that utilize your own units is skipped
Prologue II(2)
Too easy and not worth doing a step by step
Prologue V(5)
Round 1: Have Ayisha stun the left Axeman and have Inanna use Act Again on her. Afterwards Use Loyal Protector on Inanna to teleport her to Ayisha, ending the turn.
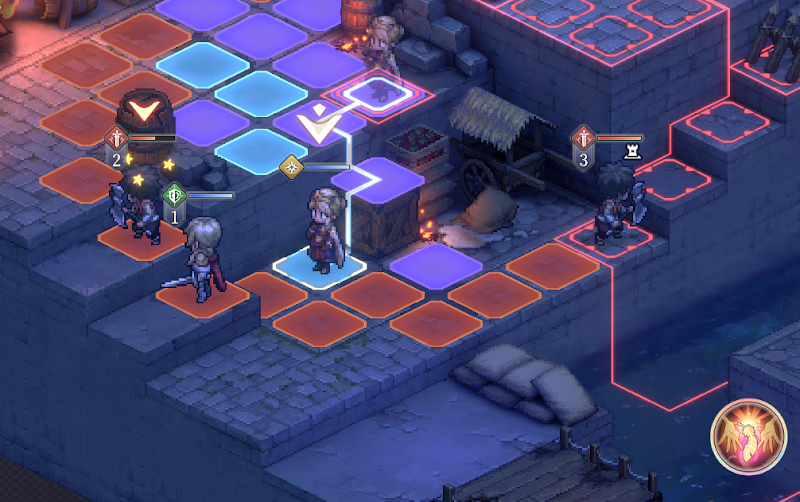
Round 2: Ayisha stuns the Spearman, Inanna moves over next to Ayisha.
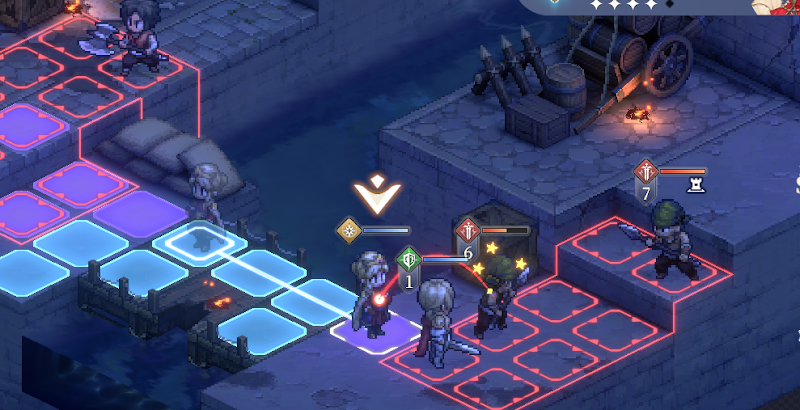
Round 3: Ayisha moves up and uses Loyal Protector. Inanna uses Act again on Ayisha. Ayisha stuns Spearman
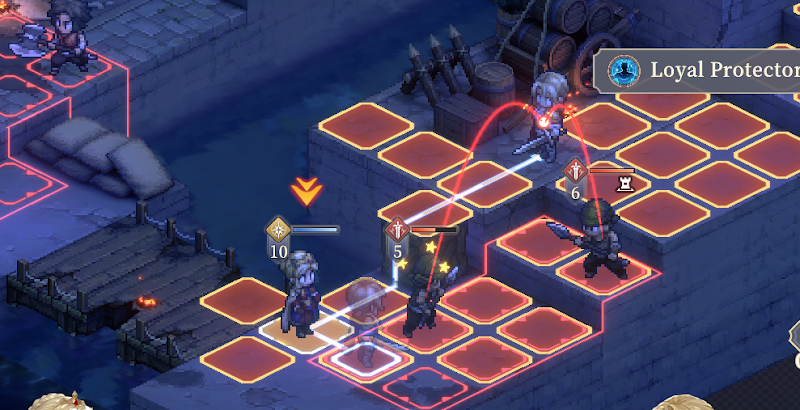
Round 4: Ayisha moves up and uses Loyal Protector. Inanna moves a little then standbys.
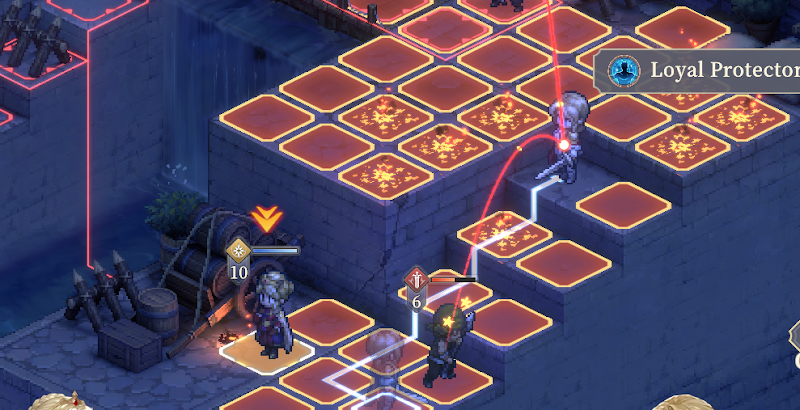
Round 5: Ayisha stuns Archer, Inanna moves and uses Act again, Ayisha moves and uses Loyal Protector
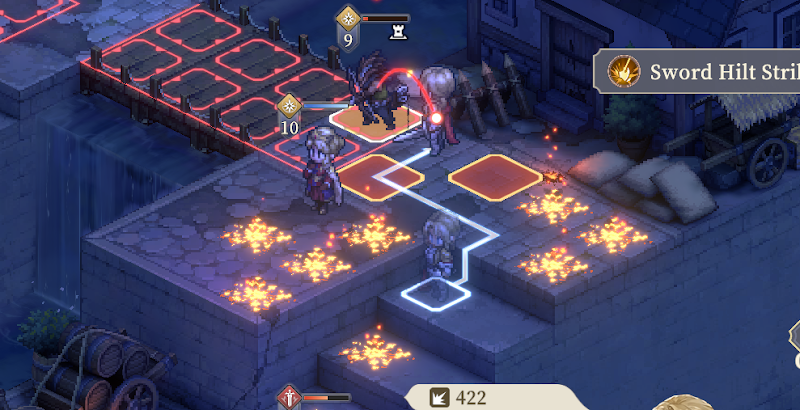
Round 6: Ayisha stuns Axeman. Inanna moves up and uses standby
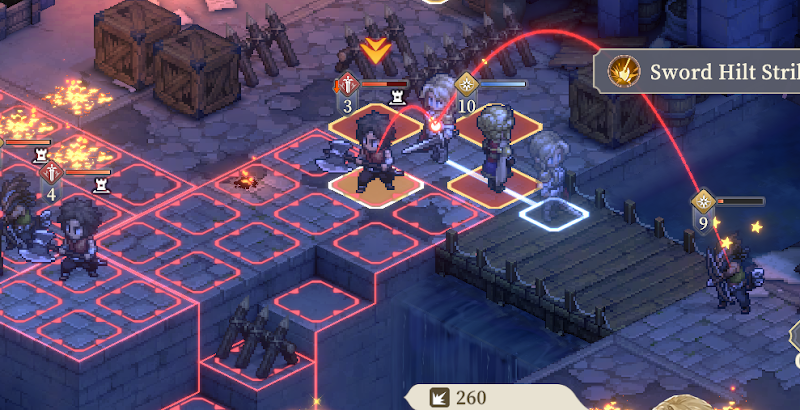
Round 7: Ayisha can standby or hit the axeman again. Inanna uses Act again on Ayisha. Ayisha moves onto box and uses Loyal Protector.
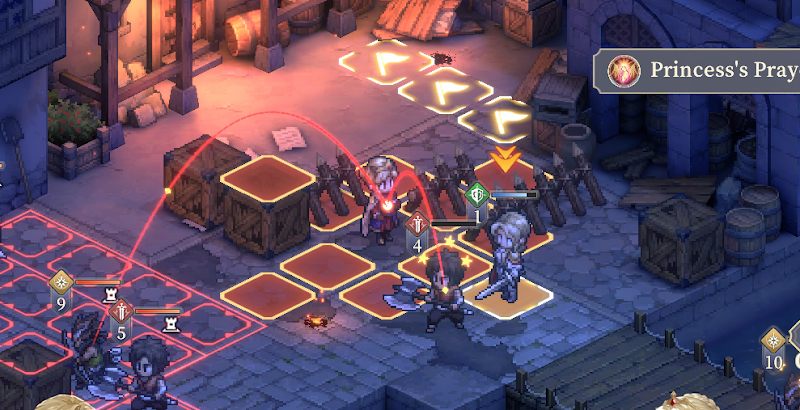
Round 8-9: Ayisha and Inanna move to goal 🙂
Prologue IX(9)
Round 1: Have the Spearman, Cleric, and Archer move upwards with Inanna and attack/heal while they can. The two defenders stay behind. Have inanna use punishment and finish two enemies off at the end
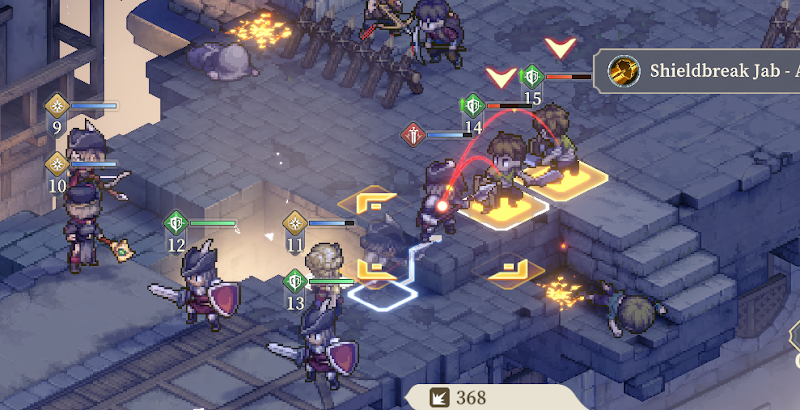
Round 2: Have the Spearman move up and basic the archer, and he will preempt and kill the miner, then move up the archer, cleric, and inanna
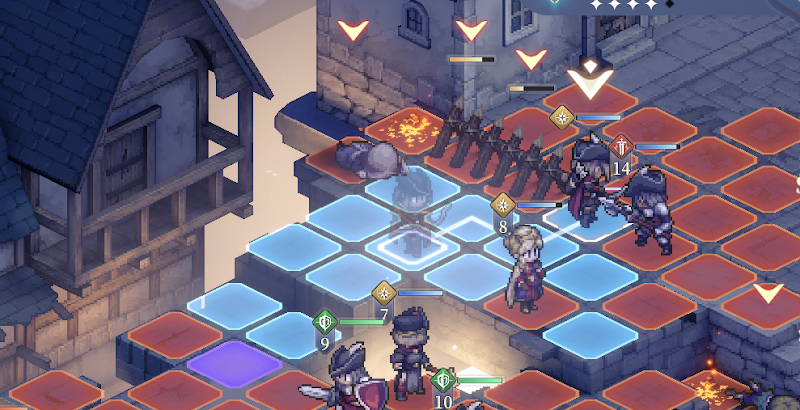
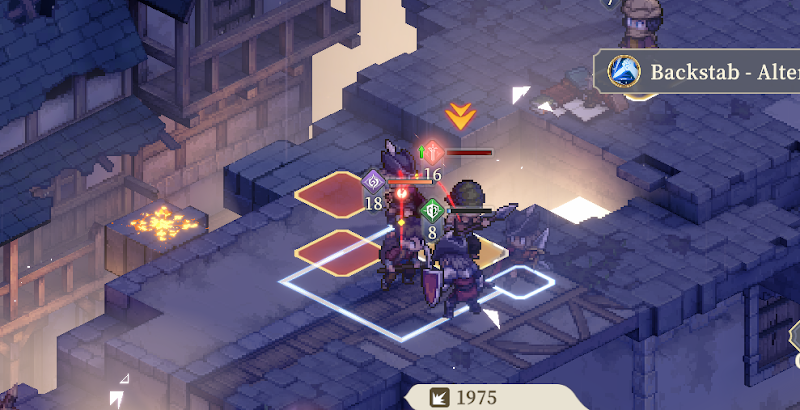
Round 3: K.A Gaurd defender uses Counterattack storm on miner. K.A Scout uses Backstab - Alter and finishes off Miner and ends his turn near K.A Guard for block swap guarding.
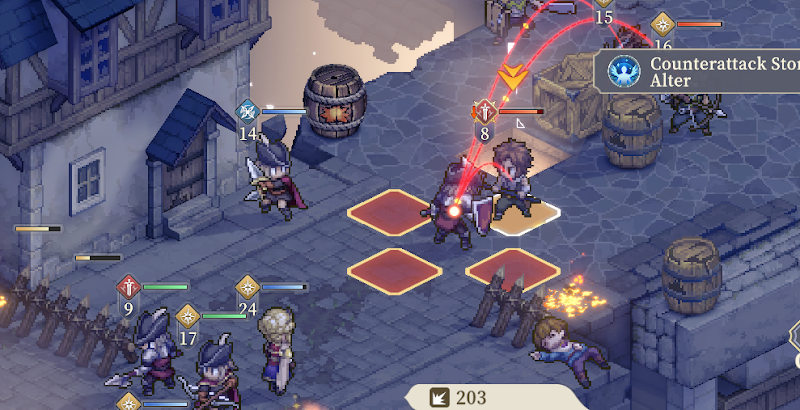
Round 4: Guard uses slash on archer. Scout uses basic on enemy defender. Inanna uses Punishment on defender
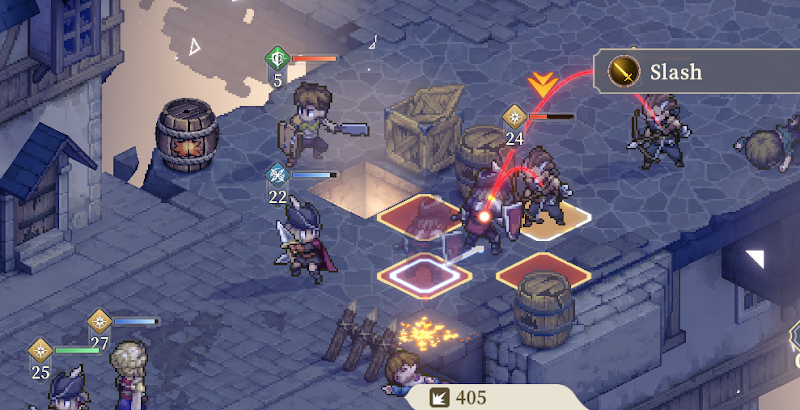
Round 5: Guard kills Defender, Scout kills Archer, Inanna basic attacks archer
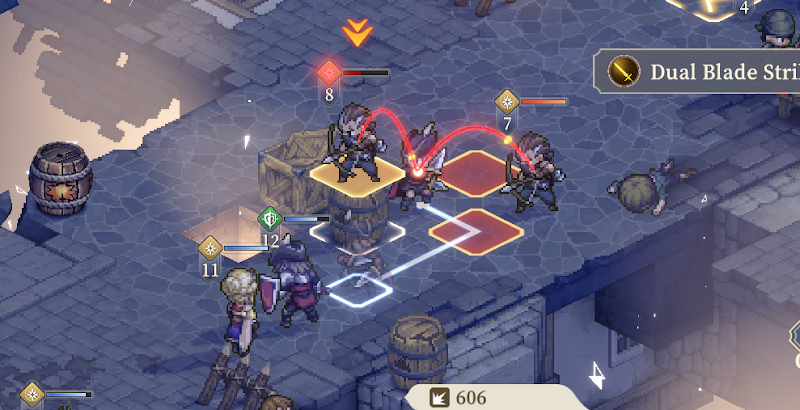
Round 6: Defender moves up. Scout moves up outside enemy aggro range, but also triggering new friendly units to come
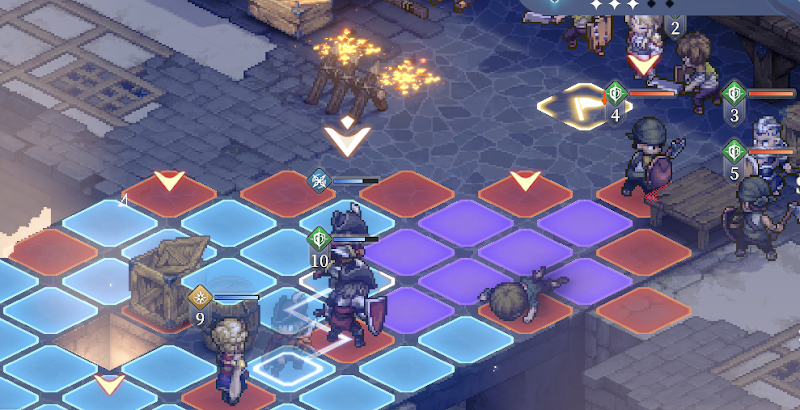
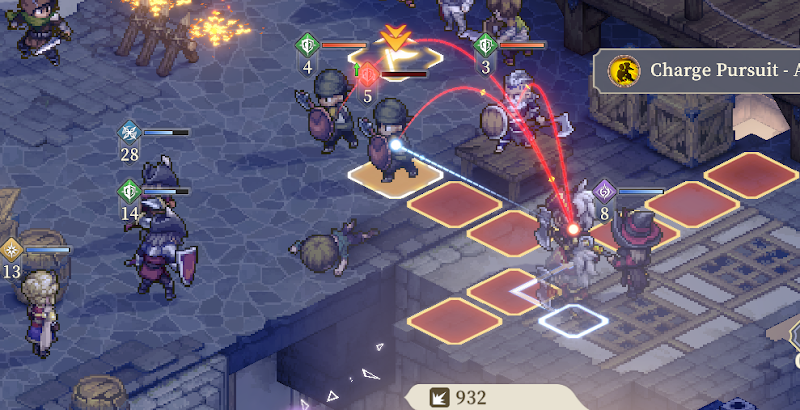
Iria Spear uses Charge Pursuit killing defender. Mage uses Fireball Alter on Luccian Defender
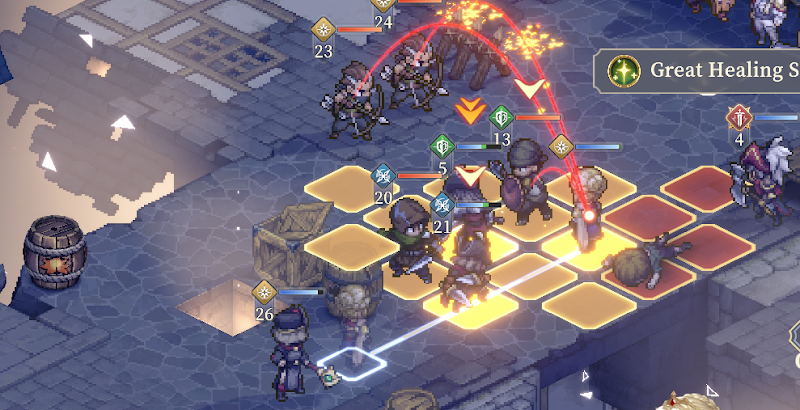
Inanna uses Great Healing Spell.
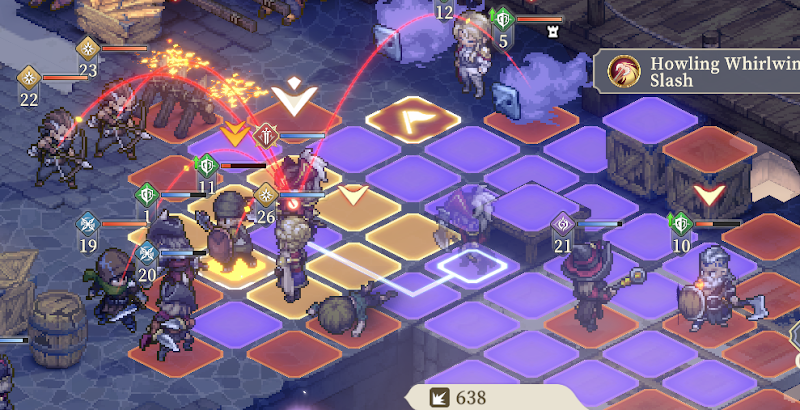
Round 7: Irian Axe uses Whirlwind Slash on defender killing him. Guard uses Counterstorm on Archer. Guard block swaps twice, Fire mage gets knocked back closer towards us
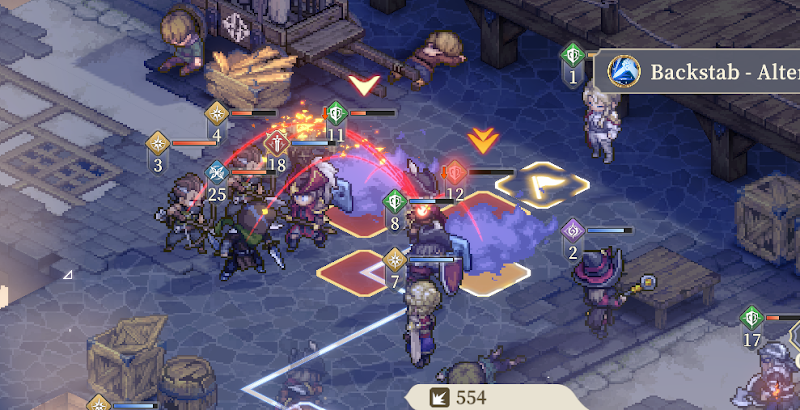
Scout uses Backstab on the enemy closer to Innana then standby on the same spot. Mage uses Fireball on the second purple enemy, killing it.
Inanna moves closer to end goal
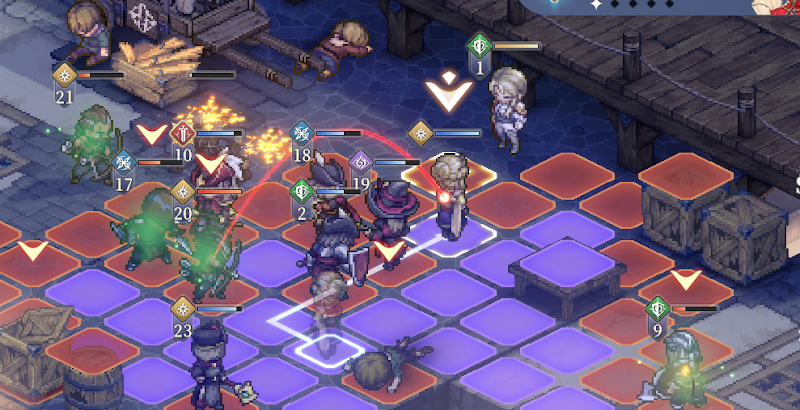
Round 8: Do whatever and Innana reaches the goal.
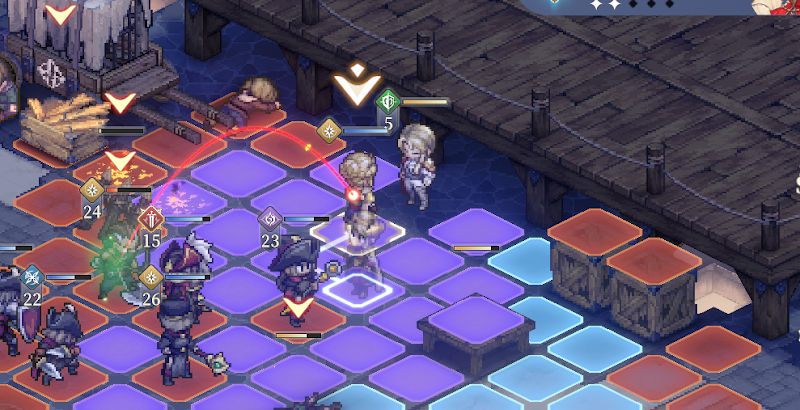
Act II(2): Endless Whispers (RUNS WILL VARY DUE TO MEDITATION LEVEL)
Screenshots here are purely a visual representation of the results of one run. The most important thing is taking the “Enemy Move -1”
Round 1: Move over to the old man and select Enemy Move -1(permanent)
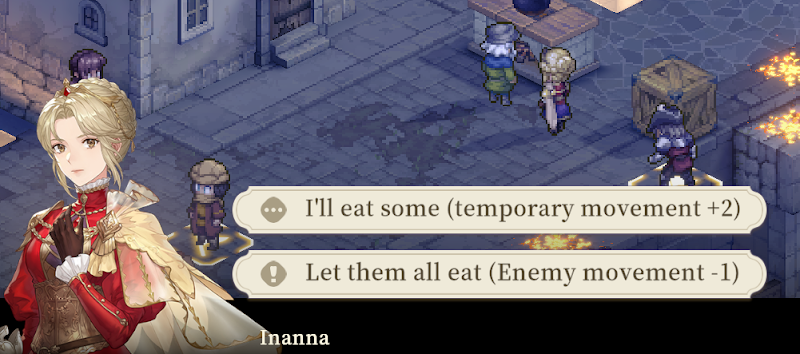
Round 2: Talk to Guard and then move the guard down
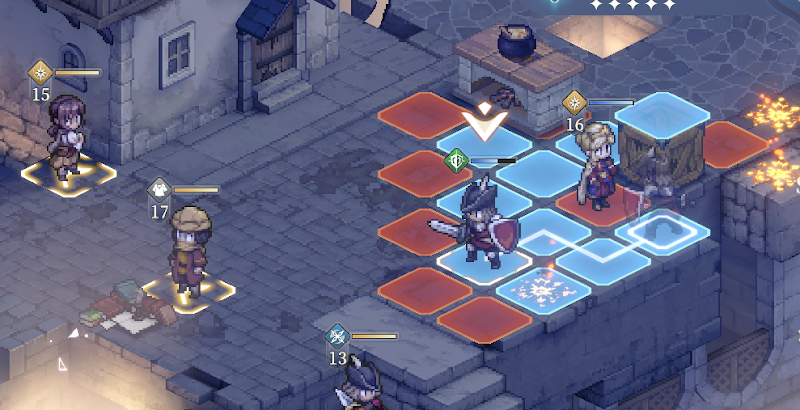
Round 3: Move inanna south, keep moving Guard down closer to the Scout
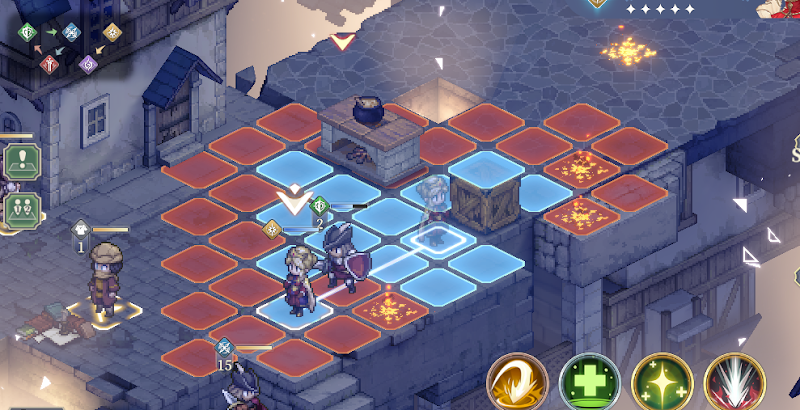
Round 4: Start moving Inanna towards Edda(ignore the man) and contact the Scout with your Guard
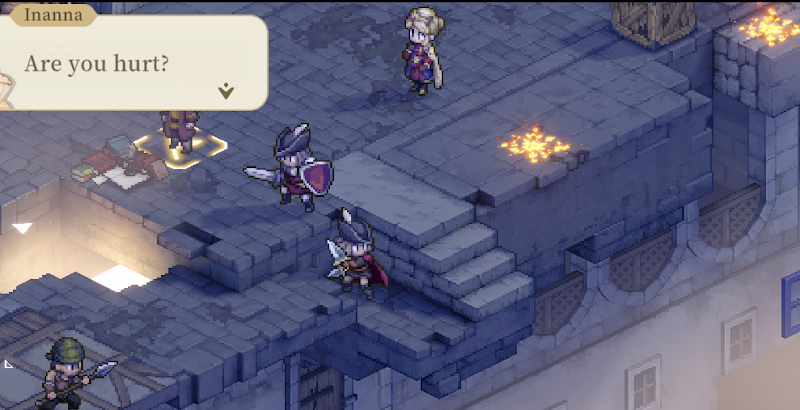
Scout kills Spearman below
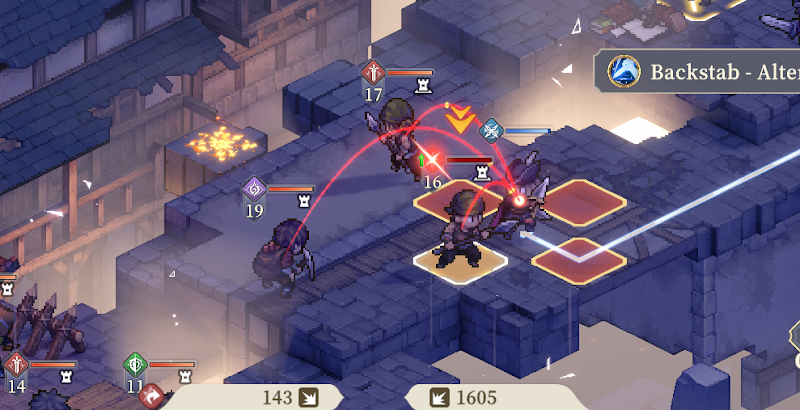
Round 5: Guard moves to scout and standby
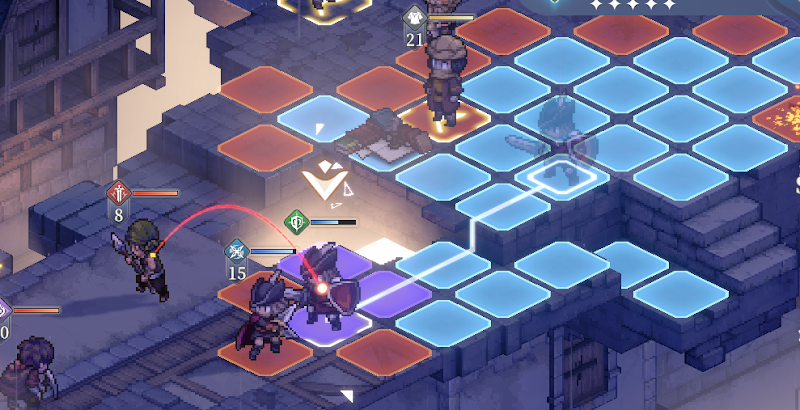
Scout kills spearman from behind then moves as far down as possible
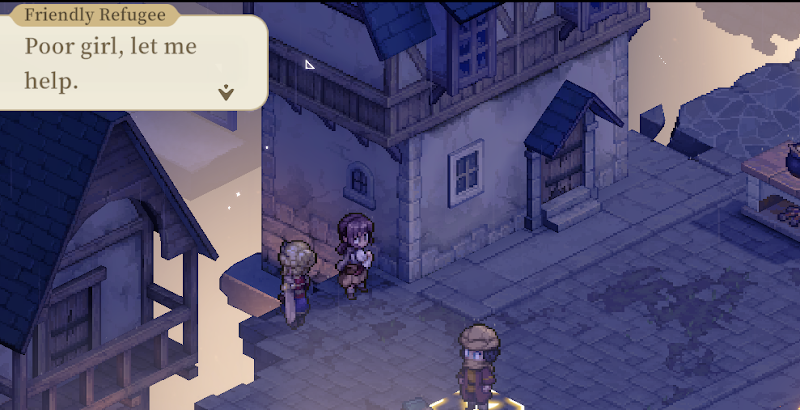
Inanna reaches Edda.
Round 6: Guard hits miner or if the guard is already dead, just move Scout and hit miner from behind killing him with crits, then move him south as far as you can. Edda and Inanna moves south
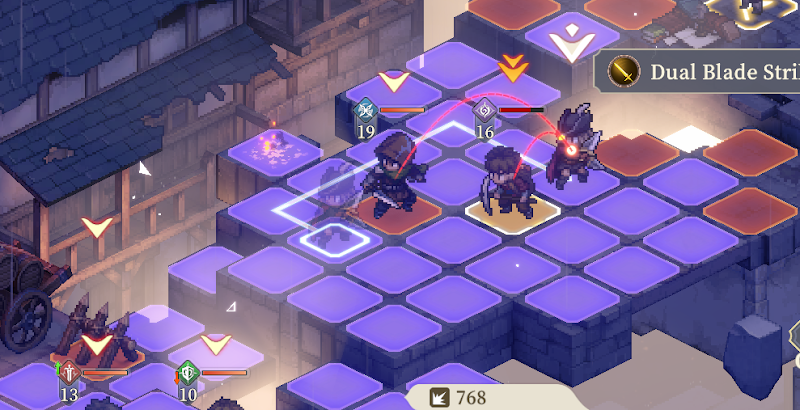
Round 7: Scout uses Strike against enemy Scout. Edda uses Take Arms! Inanna finishes off scout with Punishment
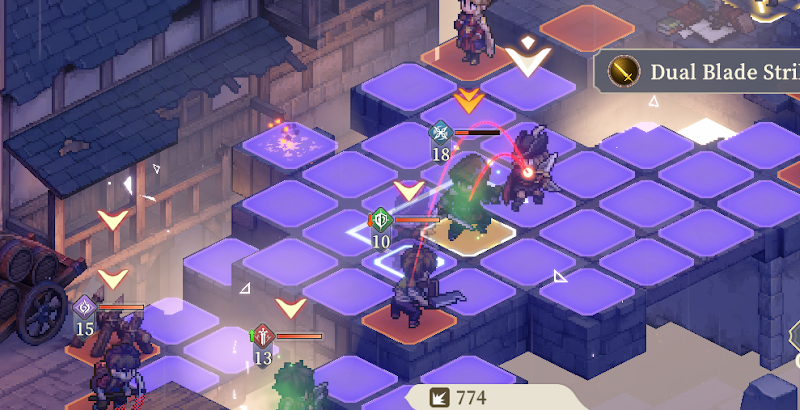
Round 8: Scout uses backstab on defender. Edda uses Powerful shot on defender. May kill or not depending on meditation level, which can be said for virtually all the instances occurring in this stage which can vary. Inanna uses punishment
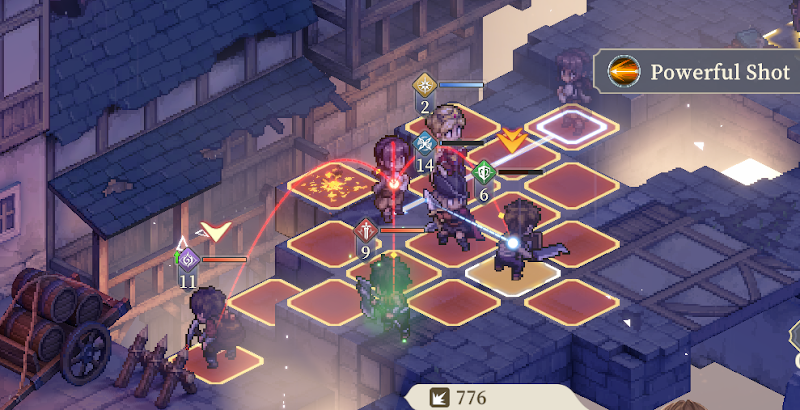
Round 9: Not many enemies left. Edda kills the miner with Powerful shot ,leaving only 2 more weak enemies. Rest of the battle is just moving towards the goal.
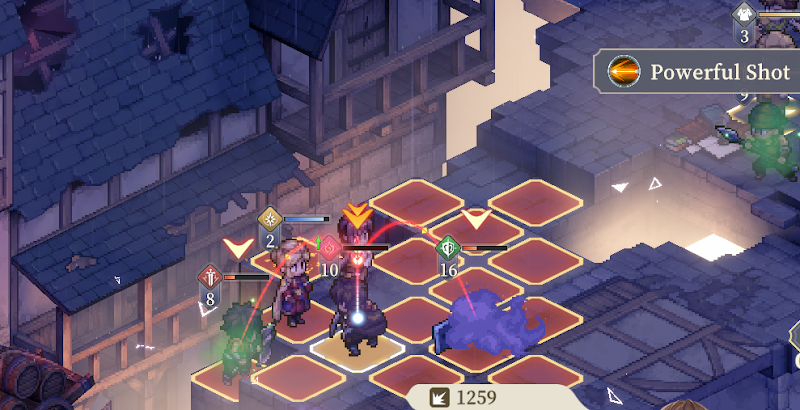
Act V: Protect the Grain
Round 1 : Have Edda use “Take Arms”. Preferably closer to the enemies than what is depicted in the first picture. Afterwards choose to encourage allies.
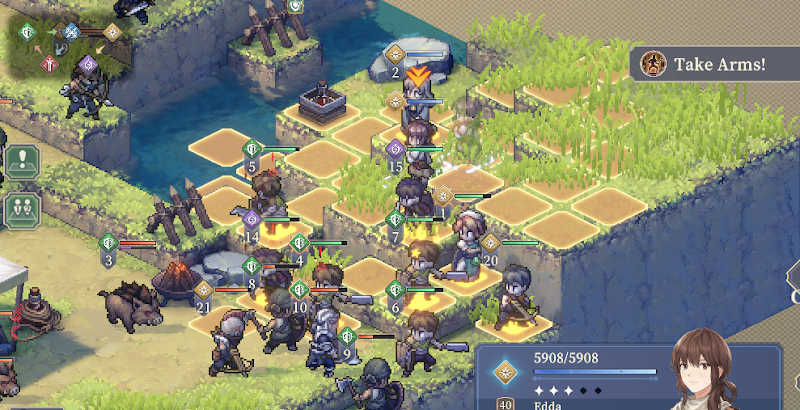
Round 2: Edda attacks anyone. Inanna moves closer to the medicine box. Choose to summon three Crossbowmen
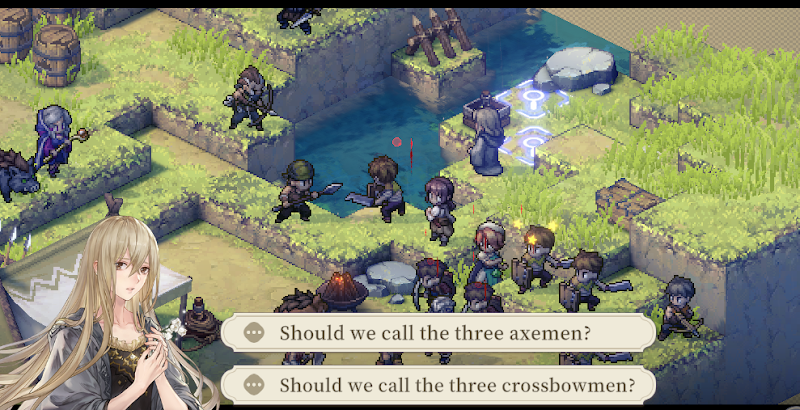
Round 3: Edda uses powerful shot on anyone. Inanna moves over the medicine box and uses “Declaration” at the same time. Choose the first option “We haven’t lost many”
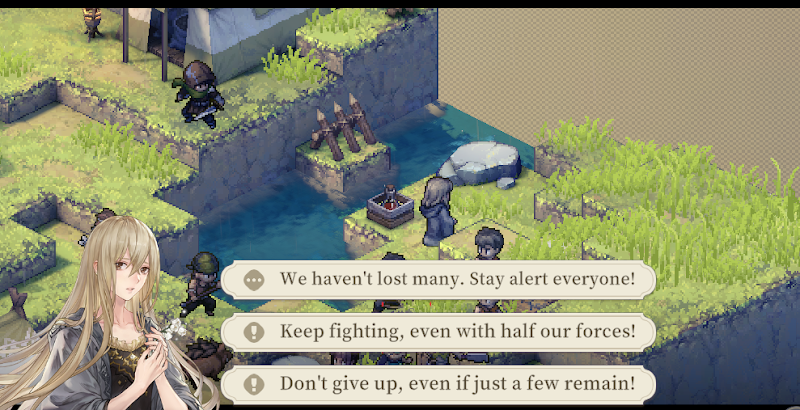
Round 4-5: Edda attacks anyone. Inanna uses “Declaration” again while moving closer towards the frontline to get in range of bandage and selects “We havent lost many” again. Repeat again for Round 5.
Round 6: Nydia comes in to help. Afterwards the rest of the battle is practically done as you can auto
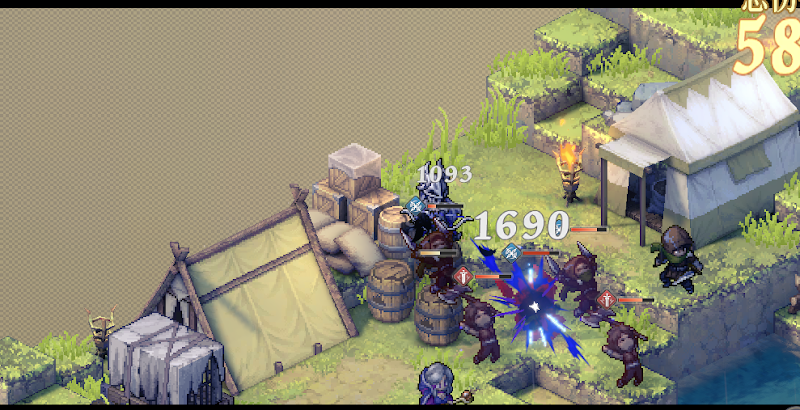
Act 8 :The Stage is easy enough you can simply auto the entire thing from the beginning
Act 13 : Skipped
Act 14 : Skipped
Act 16 : End of the Mist
Round 1-2:Move over one tile and use “Day and Night” then standby. Standby again round 2 to get him onto the box
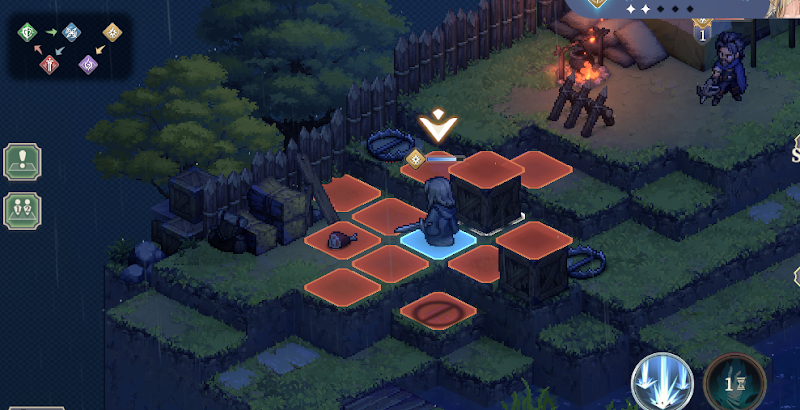
Round 3: Use “Day and Night” to change basics again to her Knockback one then use it or simply choose to standby. At the end of the turn he will be 1 tile away from a trap after he is Knocked back from Inanna’s counter
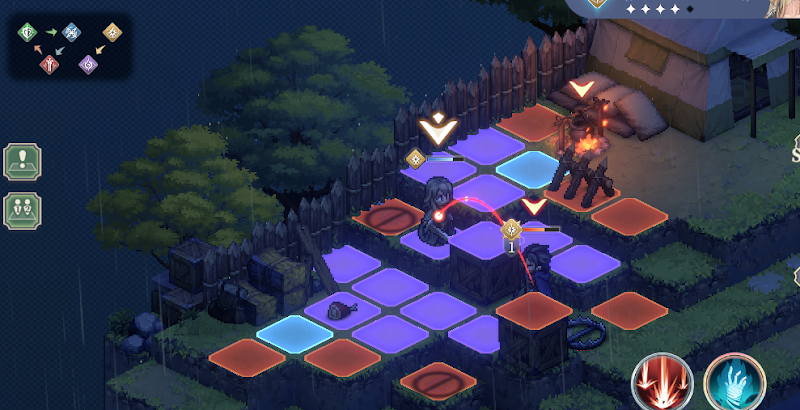
Round 4: Use “High Noon” to push him into the trap.
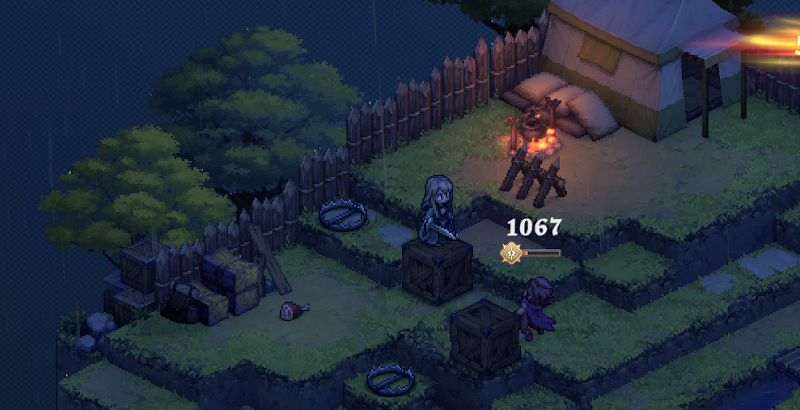
Round 5+: Stage can be autoed from here but if your meditation level is lower, just try to keep Col from dying alone and it is easy. Make sure Col and Miguel are close for their assisting attacks
Act 18: Where the Wind Rises
There is Crit RNG and other factors at play here. Adjust as you go.
Round 1: Col and Miguel focus one of the spearmen using basic attacks and kill it. Inanna moves right
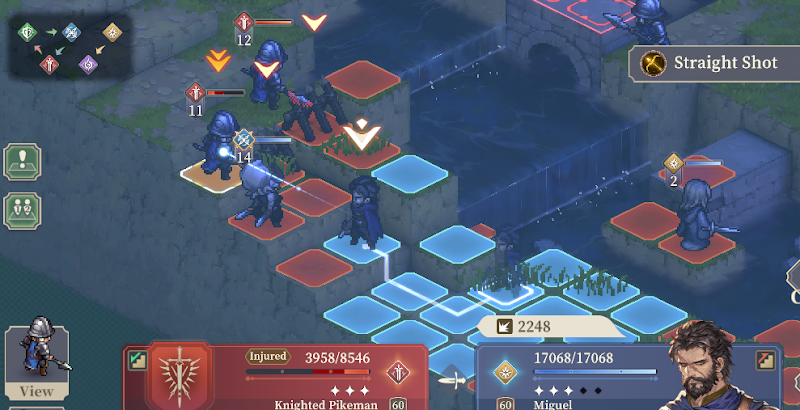
Round 2: Col and Miguel do the same thing killing the second spearman. Basic attacks is fine. Inanna moves up and uses standby.
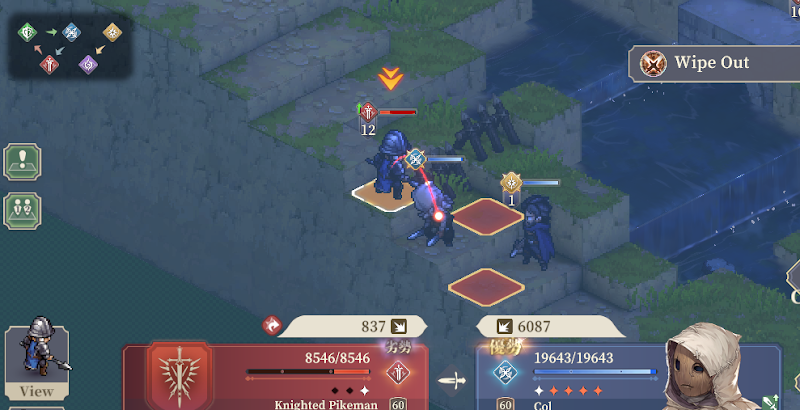
Round 3: Col moves up close to the enemies then standy. Miguel uses shrapnel blast on the flag. Inanna moves up.
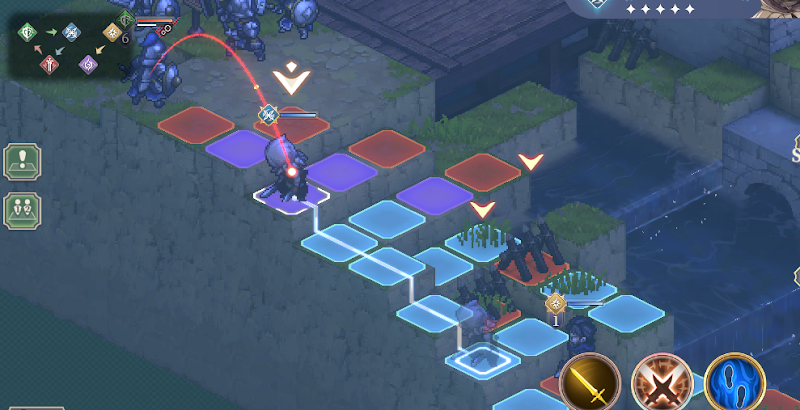
Round 4: Col uses “Wipeout” on either lower hp defender then uses basic to finish off the second. Miguel uses “Brutal Kick” against the enemy near the wall. Inanna moves up and uses standby.
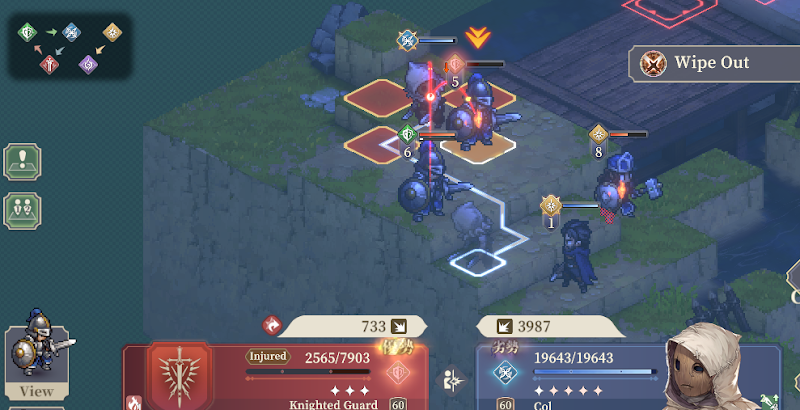
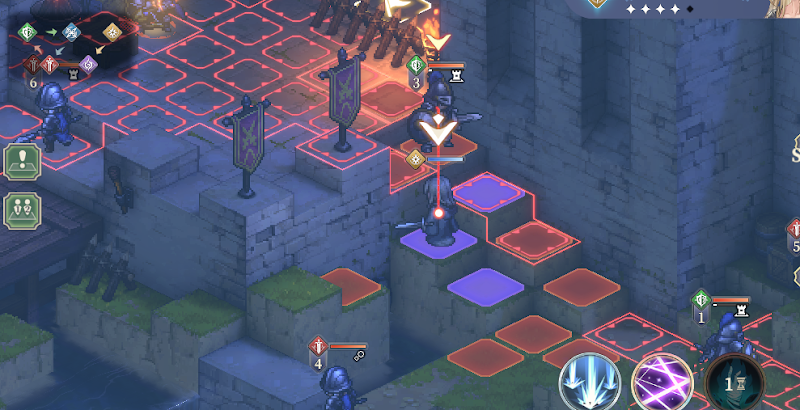
Round 5: Col uses “Wipeout” on spearman. Miguel uses kills the Defender. Inanna moves up and hits the flag with a basic.
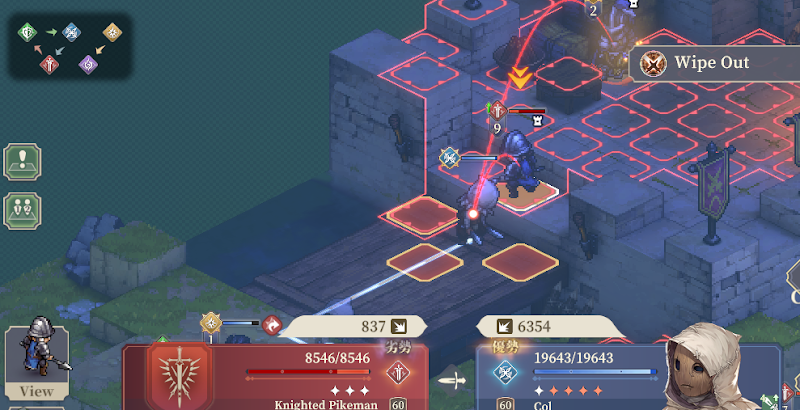
Round 6: Col uses “Shadow Gait” on the low hp spearman and hits the Crossbowman. Miguel uses Shrapnel Blast on the Crossbowman directly to kill him, then uses a basic to kill another. Rest of the battle is easy for Inanna to move to end
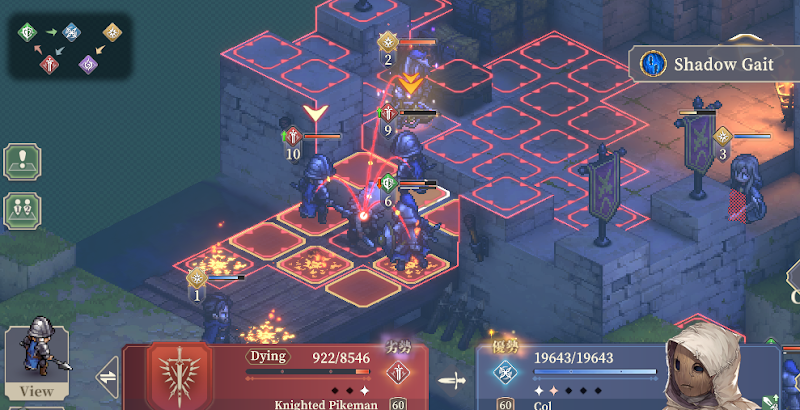
Tip: Try to make sure the Crossbowman is dead. He is a special unit with a large alert skill.
Act 19 : Return to Refugee Shelter
Round 1: Militia Guard uses “Slash on wolf. Move Inanna over and use her AoE then move the Militia Guard downwards then standby and Inanna will kill the wolf.
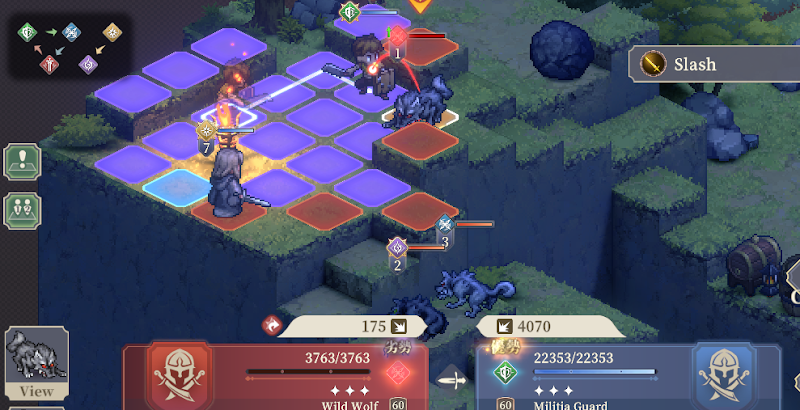
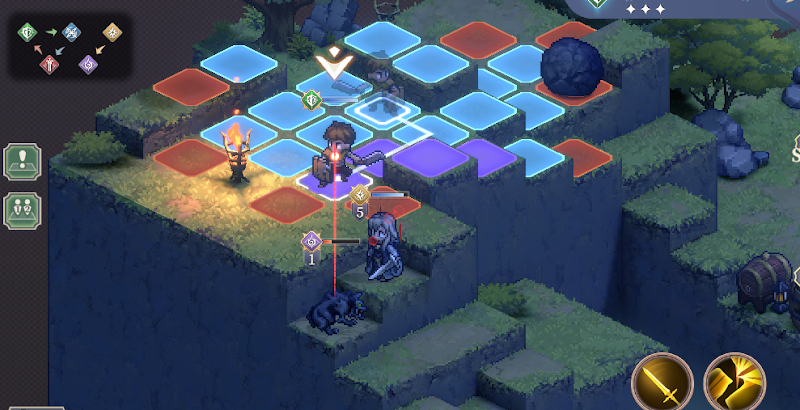
Round 2: Move Inanna and Militia guard down.
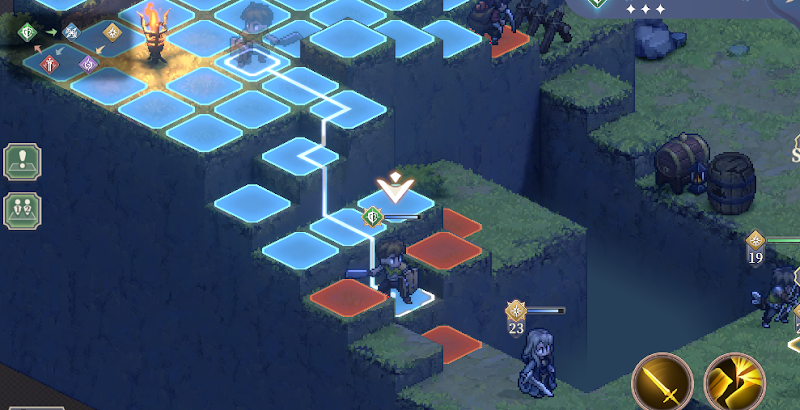
Round 3: Move Innana towards the checkpoint again then standby. Militia guard closer to Inanna
Round 4: Inanna uses her AoE on the frontal wolf.
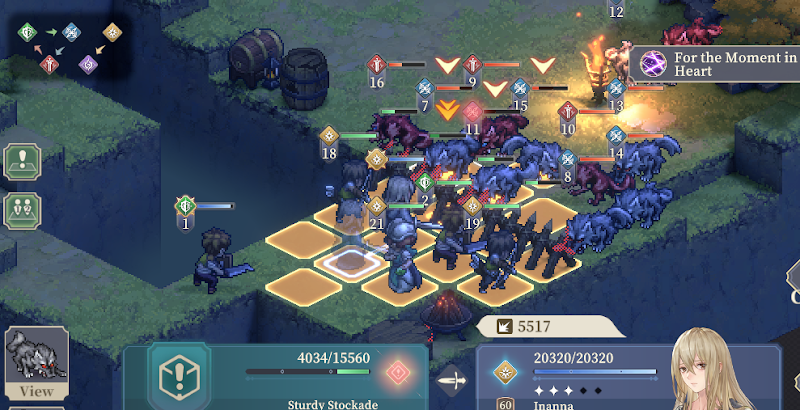
Round 5: Rest of battle can be autoed or is at least easy enough.
Epilogue II(2): Infiltrate the Camp
Round 1: Move down to trigger the event. Move the disguised Col down
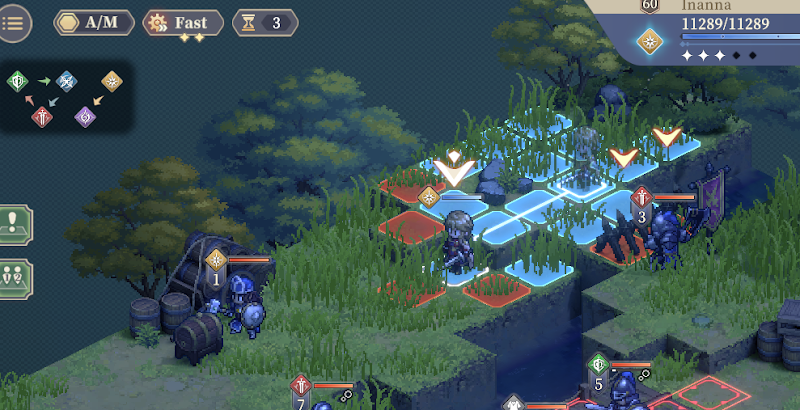
Round 2: Move Inanna down. Have Col talk with the Guard
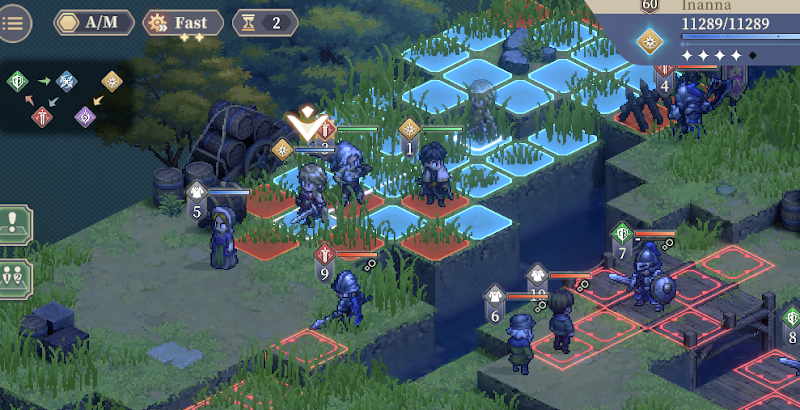
Round 3-5: Move Inanna forward and use “Lurk” on the Merchant
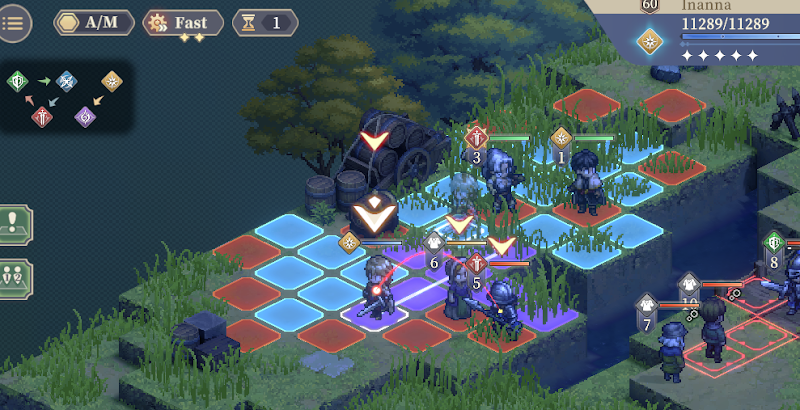
Round 6-7: Inanna reaches the goal
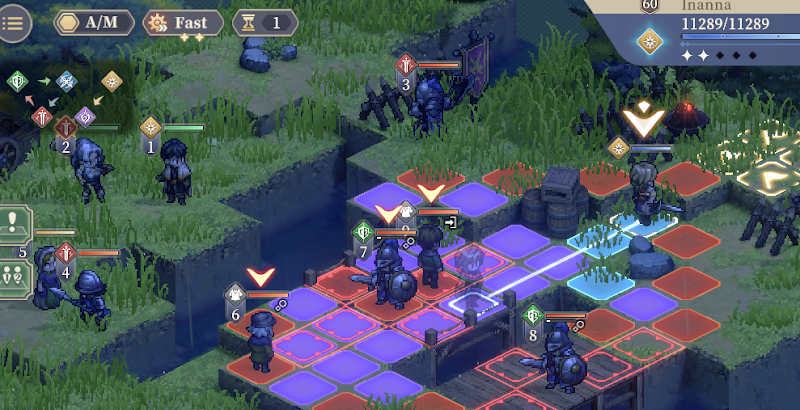
Epilogue V(5): Final Duel
The stage is too long for me to bother with a tutorial. Do your best : )